Pre-requisites
Note: When using the production environment at moonpay.hel.io, set your API endpoint to
api.hel.io/v1 and generate API keys there. For the development environment, use api.dev.hel.io/v1 and generate API keys from moonpay.dev.hel.io.1. Create your Account & get API keys
- Go to our dashboard and log in.
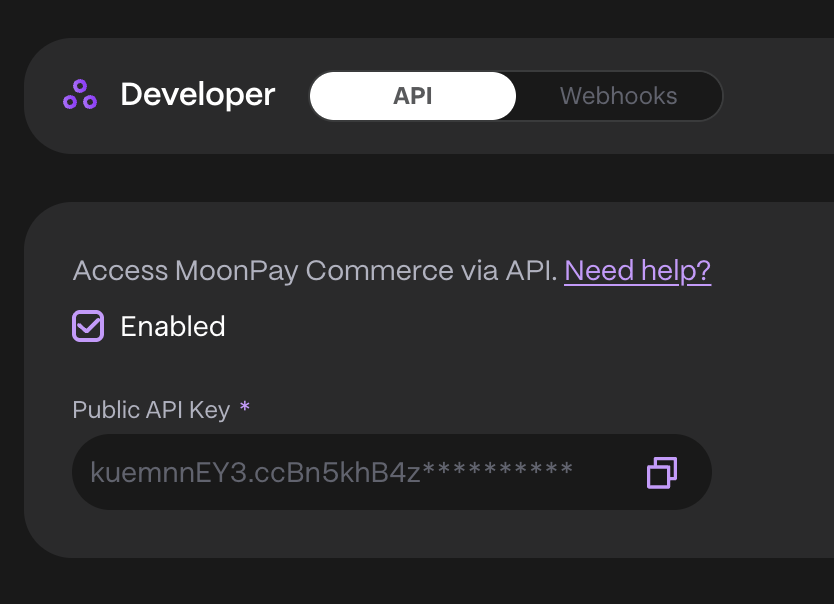
- Under Developer -> API, check Enable to generate your Public and Secret API Keys.
- Save these securely, as the Secret API Key won’t be retrievable later (you can regenerate both if needed).
Prepare Request Payload for paylinkId
When creating a Pay Link via API, you’ll need to specify the recipient wallet, payment currency, and accepted recipient currencies — so it’s important to gather this information beforehand. Here’s how to do it.JSON
1. Retrieving your Wallet ID
You can retrieve your Wallet ID in one of the following ways:Option 1: Via the Dashboard
- Navigate to the Helio Dashboard
- Go to Settings → Wallets
- Click the three dots next to your wallet and select Copy wallet ID
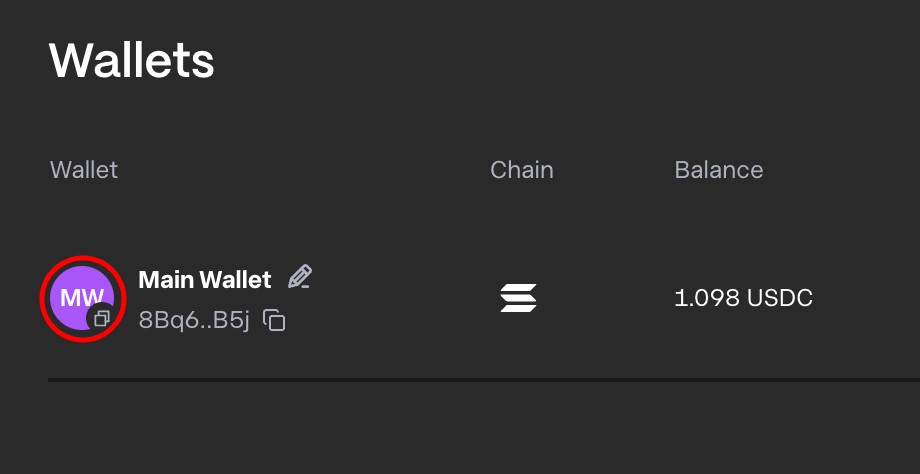
Note: The Helio ID is different from your wallet’s public key.
Option 2: Via the API
- Call the Get wallets endpoint
- Use the
idfield from the wallet object returned in the response
2. Retrieving the Currency Id
To retrieve thecurrencyId, use the Get All Currencies endpoint.