Roles
MoonPay Commerce offers four roles. Admin, Collaborator, and Dev are invitable team roles (invited from Settings → Team). Account owner:- Role Assignment: Automatically assigned to the account creator.
- Permissions: Full access to all MoonPay Commerce features
- Role Assignment: Invited by company account owner
- Permissions: Full access to all MoonPay Commerce features, except the ability to delete connected wallets
- Role Assignment: Invited by an admin
- Permissions:
- View team transactions.
- Create and edit Pay Links on behalf of the team.
- Limited to using wallets linked by the Admin.
- Cannot access settings, add or change payout wallets, configure split payments, or process refunds.
- Role Assignment: Invited by an admin.
- Purpose: Integrate and debug on behalf of the team without changing membership, merchant or account profile data, integration configuration, payout wallet structure, or rotating production API secrets.
- Permissions:
- View team members and switch between assigned teams.
- Access Developer settings and configure webhooks.
- View and copy API keys and payout wallet addresses.
- Read-only access to merchant profile, integrations, and account settings.
- Cannot invite or remove team members.
- Cannot add, edit, or delete payout wallets.
- Cannot regenerate API keys or modify production credentials.
- Cannot access HelioX.
Managing Team Members
To manage team roles and add team members:- View the team: Go to Settings → Team.
- Invite team members (admins only):
- Ask the user to first create a MoonPay Commerce account by signing up via email, see here.
- Go to Settings → Team, click Invite User (or Invite), then enter the team member’s name, email address, and role. You can assign Administrator, Collaborator, or Dev. The invitation email reflects the role (for example that they were invited as a dev).
- On the Team page: Admins see Invite User and row actions (such as ⋮ to remove or cancel where applicable). Users on the team as Dev see the list read-only, with no invite or destructive actions in the table.
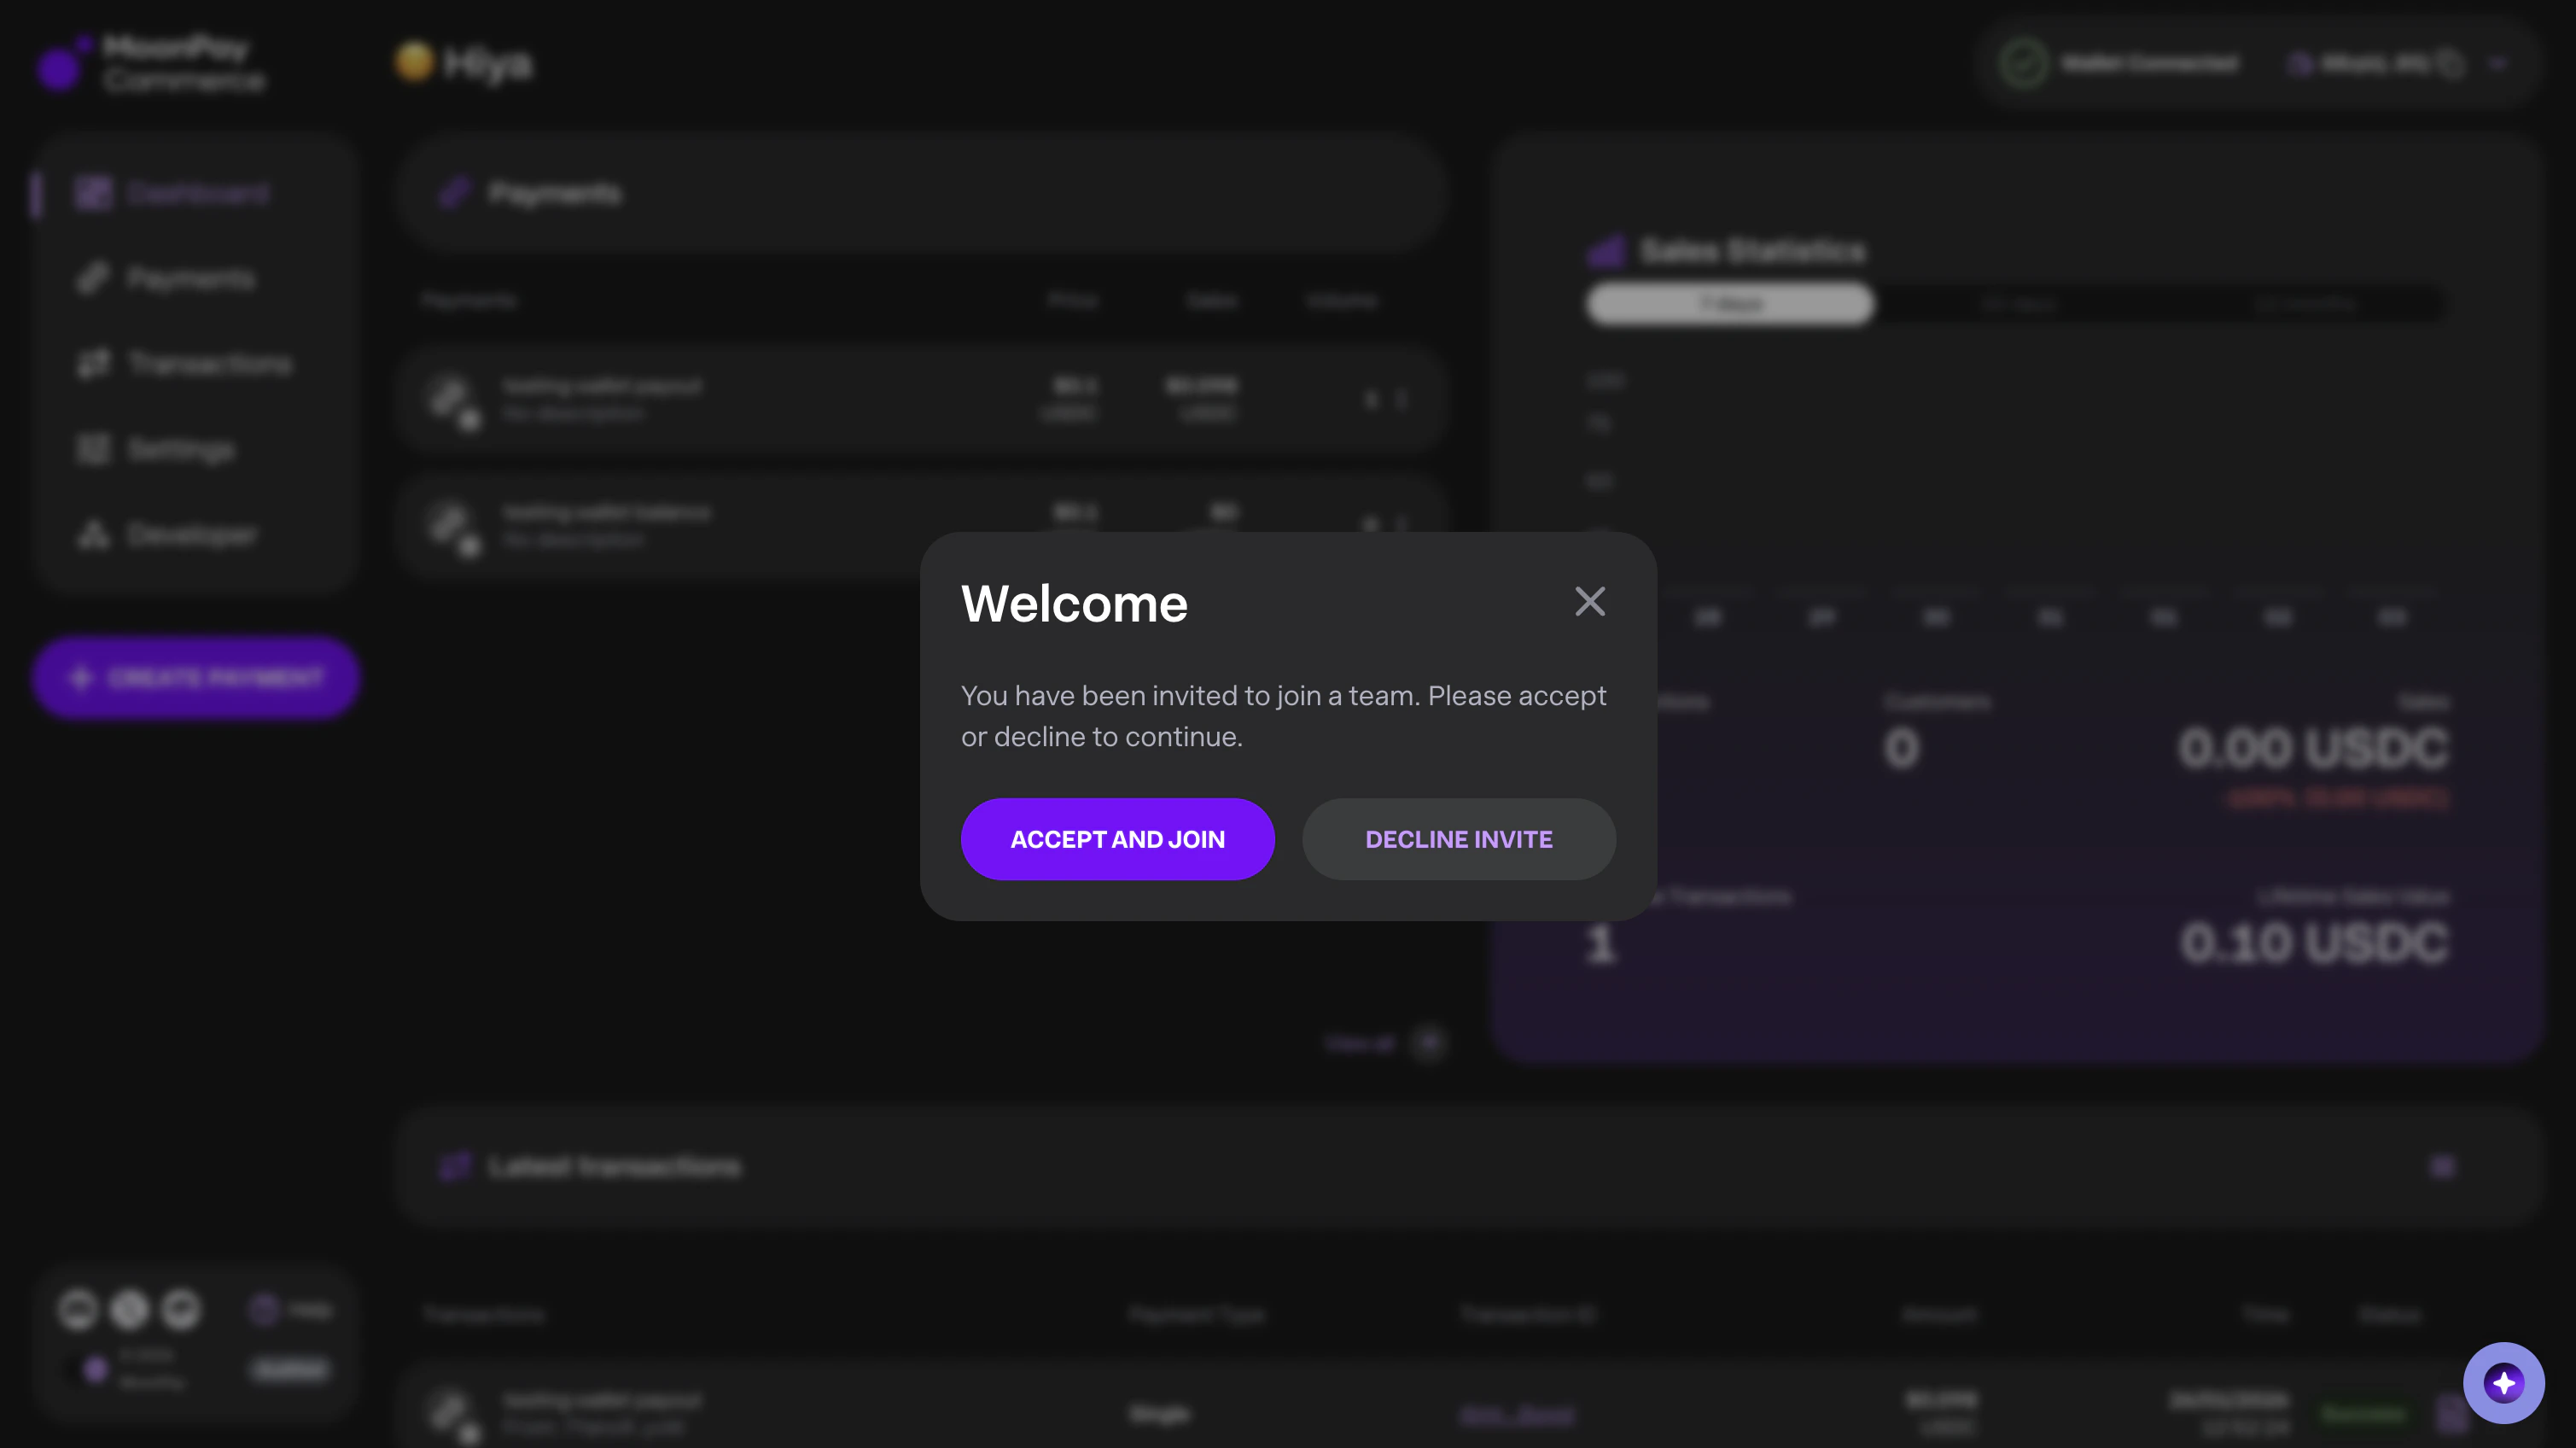
- Join the Team:
- The user can log in or refresh their dashboard to accept the invitation. Accepting a Dev invite grants the Dev permissions described above.
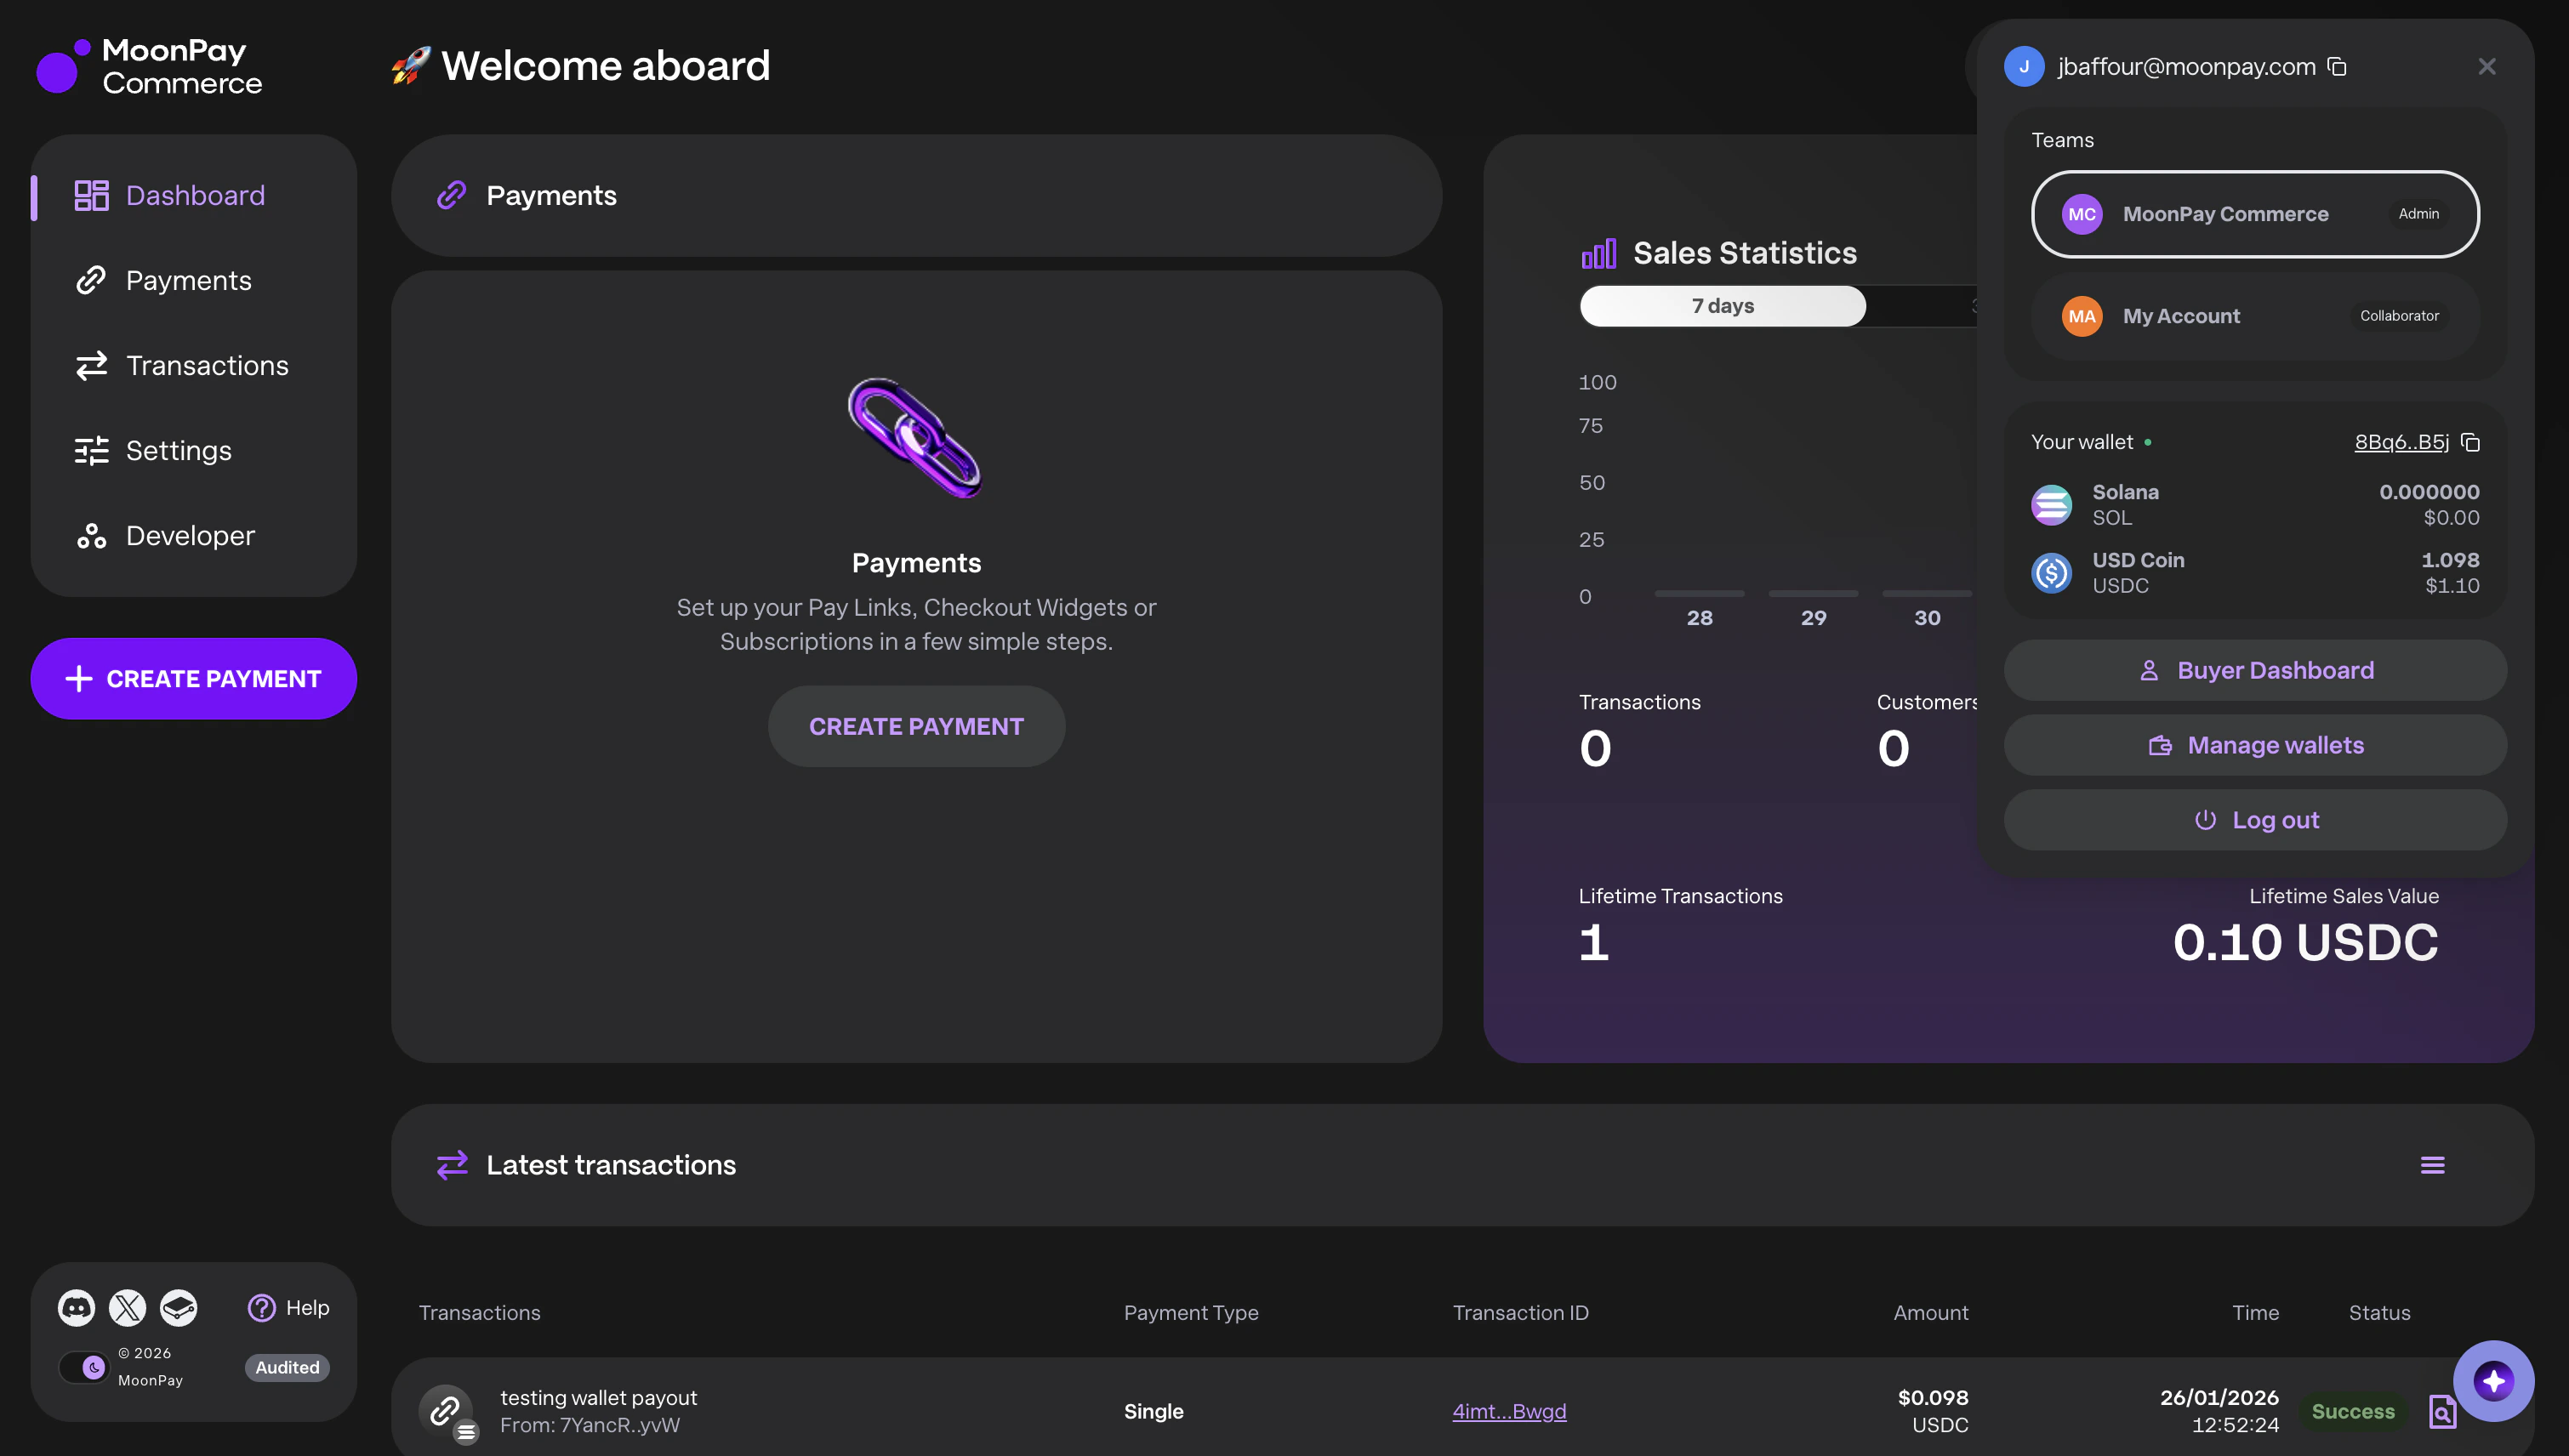
- They can switch between the team account and their personal account from the Teams list in the wallet menu in the top bar: each row shows the role and which team is Current.