paylinkId. They’re ideal for mobile flows, deep-linking, QR codes, embedded pay buttons, simple website builders (like Wix), e-commerce plugins, and other custom payment flows.
How to Set Up and Use a Charge
- Via API: Generate a charge using the API, see endpoint here. This will return a URL to the charge page that users can use to complete their payment.
- Via Embedded Widget: To use a charge within your checkout widget, pass the
chargeTokenfield in your configuration code. This value can be found at the end of the charge page URL returned when generating a charge via the API e.g.a1f67a3a-2152-4124-ad71-a8129e6d2e63. This allows you to integrate charges directly into the checkout widget. For more information see here.
Charges vs Pay Links
Below is a comparison of standard MoonPay Commerce Pay Links and Charges, highlighting their descriptions, use cases, and key advantages.Pay with QR Code
When an end user pays via QR code on a charge page, the payment uses a deposit-style flow. The user scans the QR code and sends funds directly to complete the payment.- Underpayment: If the user sends less than the required amount, they will be prompted to deposit the remaining balance until the full payable amount is reached.
- Overpayment: If the user sends more than the required amount, the entire deposited amount will be forwarded to the merchant.

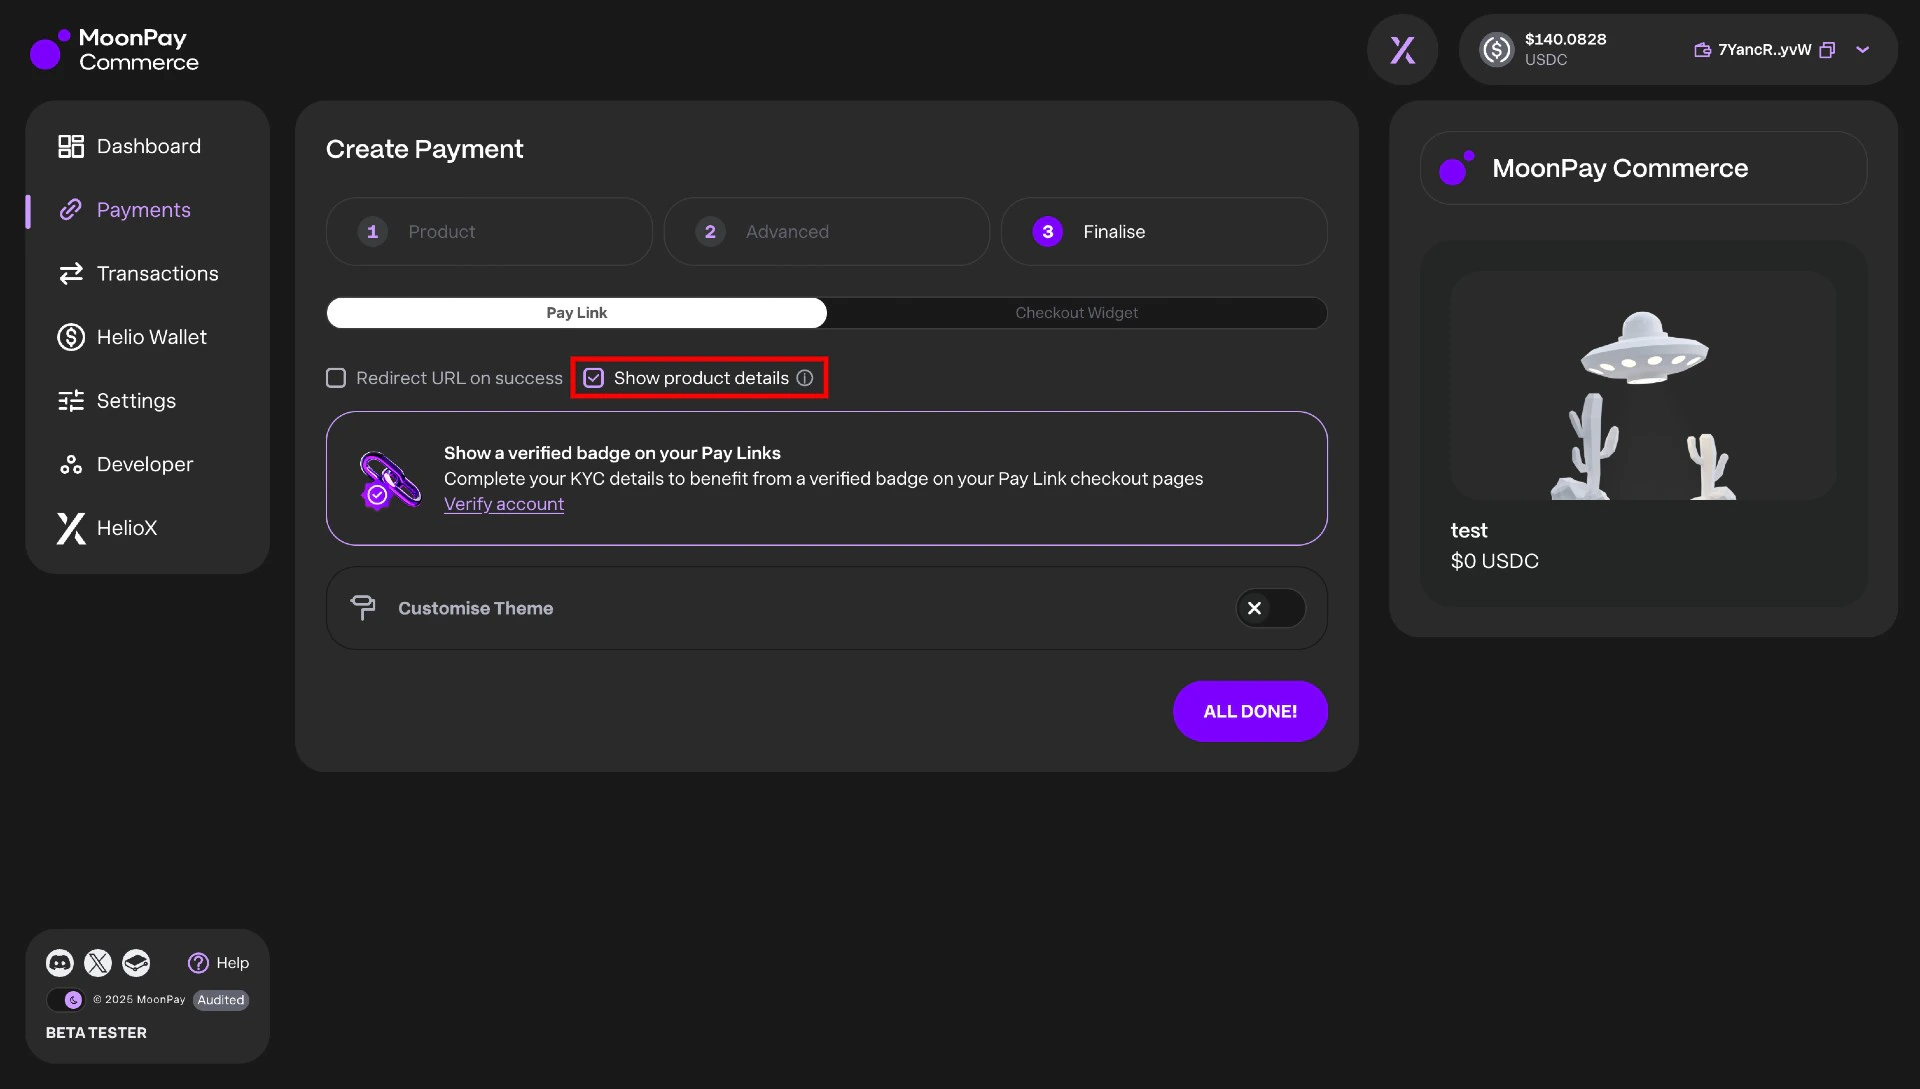
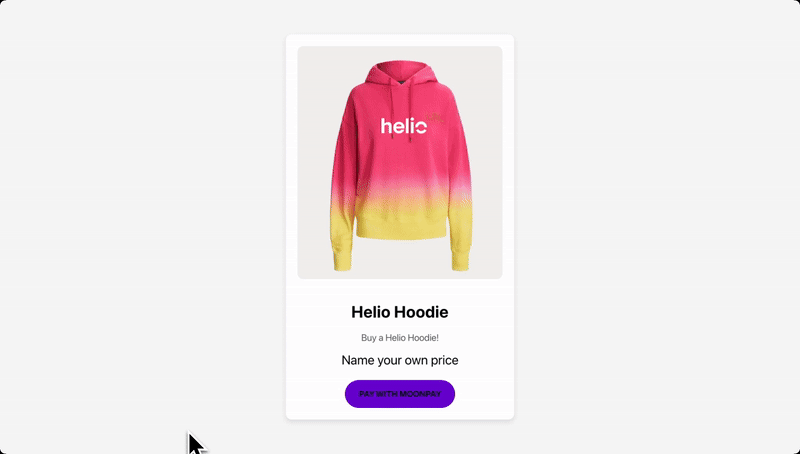
How to Show Pay Link Details on a Charge Page
Within MoonPay Commerce, you can display the product name, description, and image from your pay link directly on the charge page, mirroring your original pay link. To do this:- Ensure your
paylinkIduses dynamic pricing. This can be toggled in the dashboard or set via the API when creating or updating apaylinkIdby setting"dynamic": truein the features object. - In Step 3 of the Pay Link creation process, toggle “Show product details” under the Pay Link tab. Alternatively, you can enable this via the API by setting
showDetailsForChargetotruewithin thefeaturesobject when creating or updating a pay link. - You can also define a
successRedirectUrlparamter when creating a charge. This is the redirect URL to use after a successful payment. The parent Pay Link must have a redirect URL enabled, and this value overrides the default success redirect URL.